A practical way to develop object ideas.
The course approach moves from observation to sketches, physical mockups, and focused revisions. Each stage helps beginners connect user needs with proportion, ergonomics, materials, and the way an object is handled in everyday use.
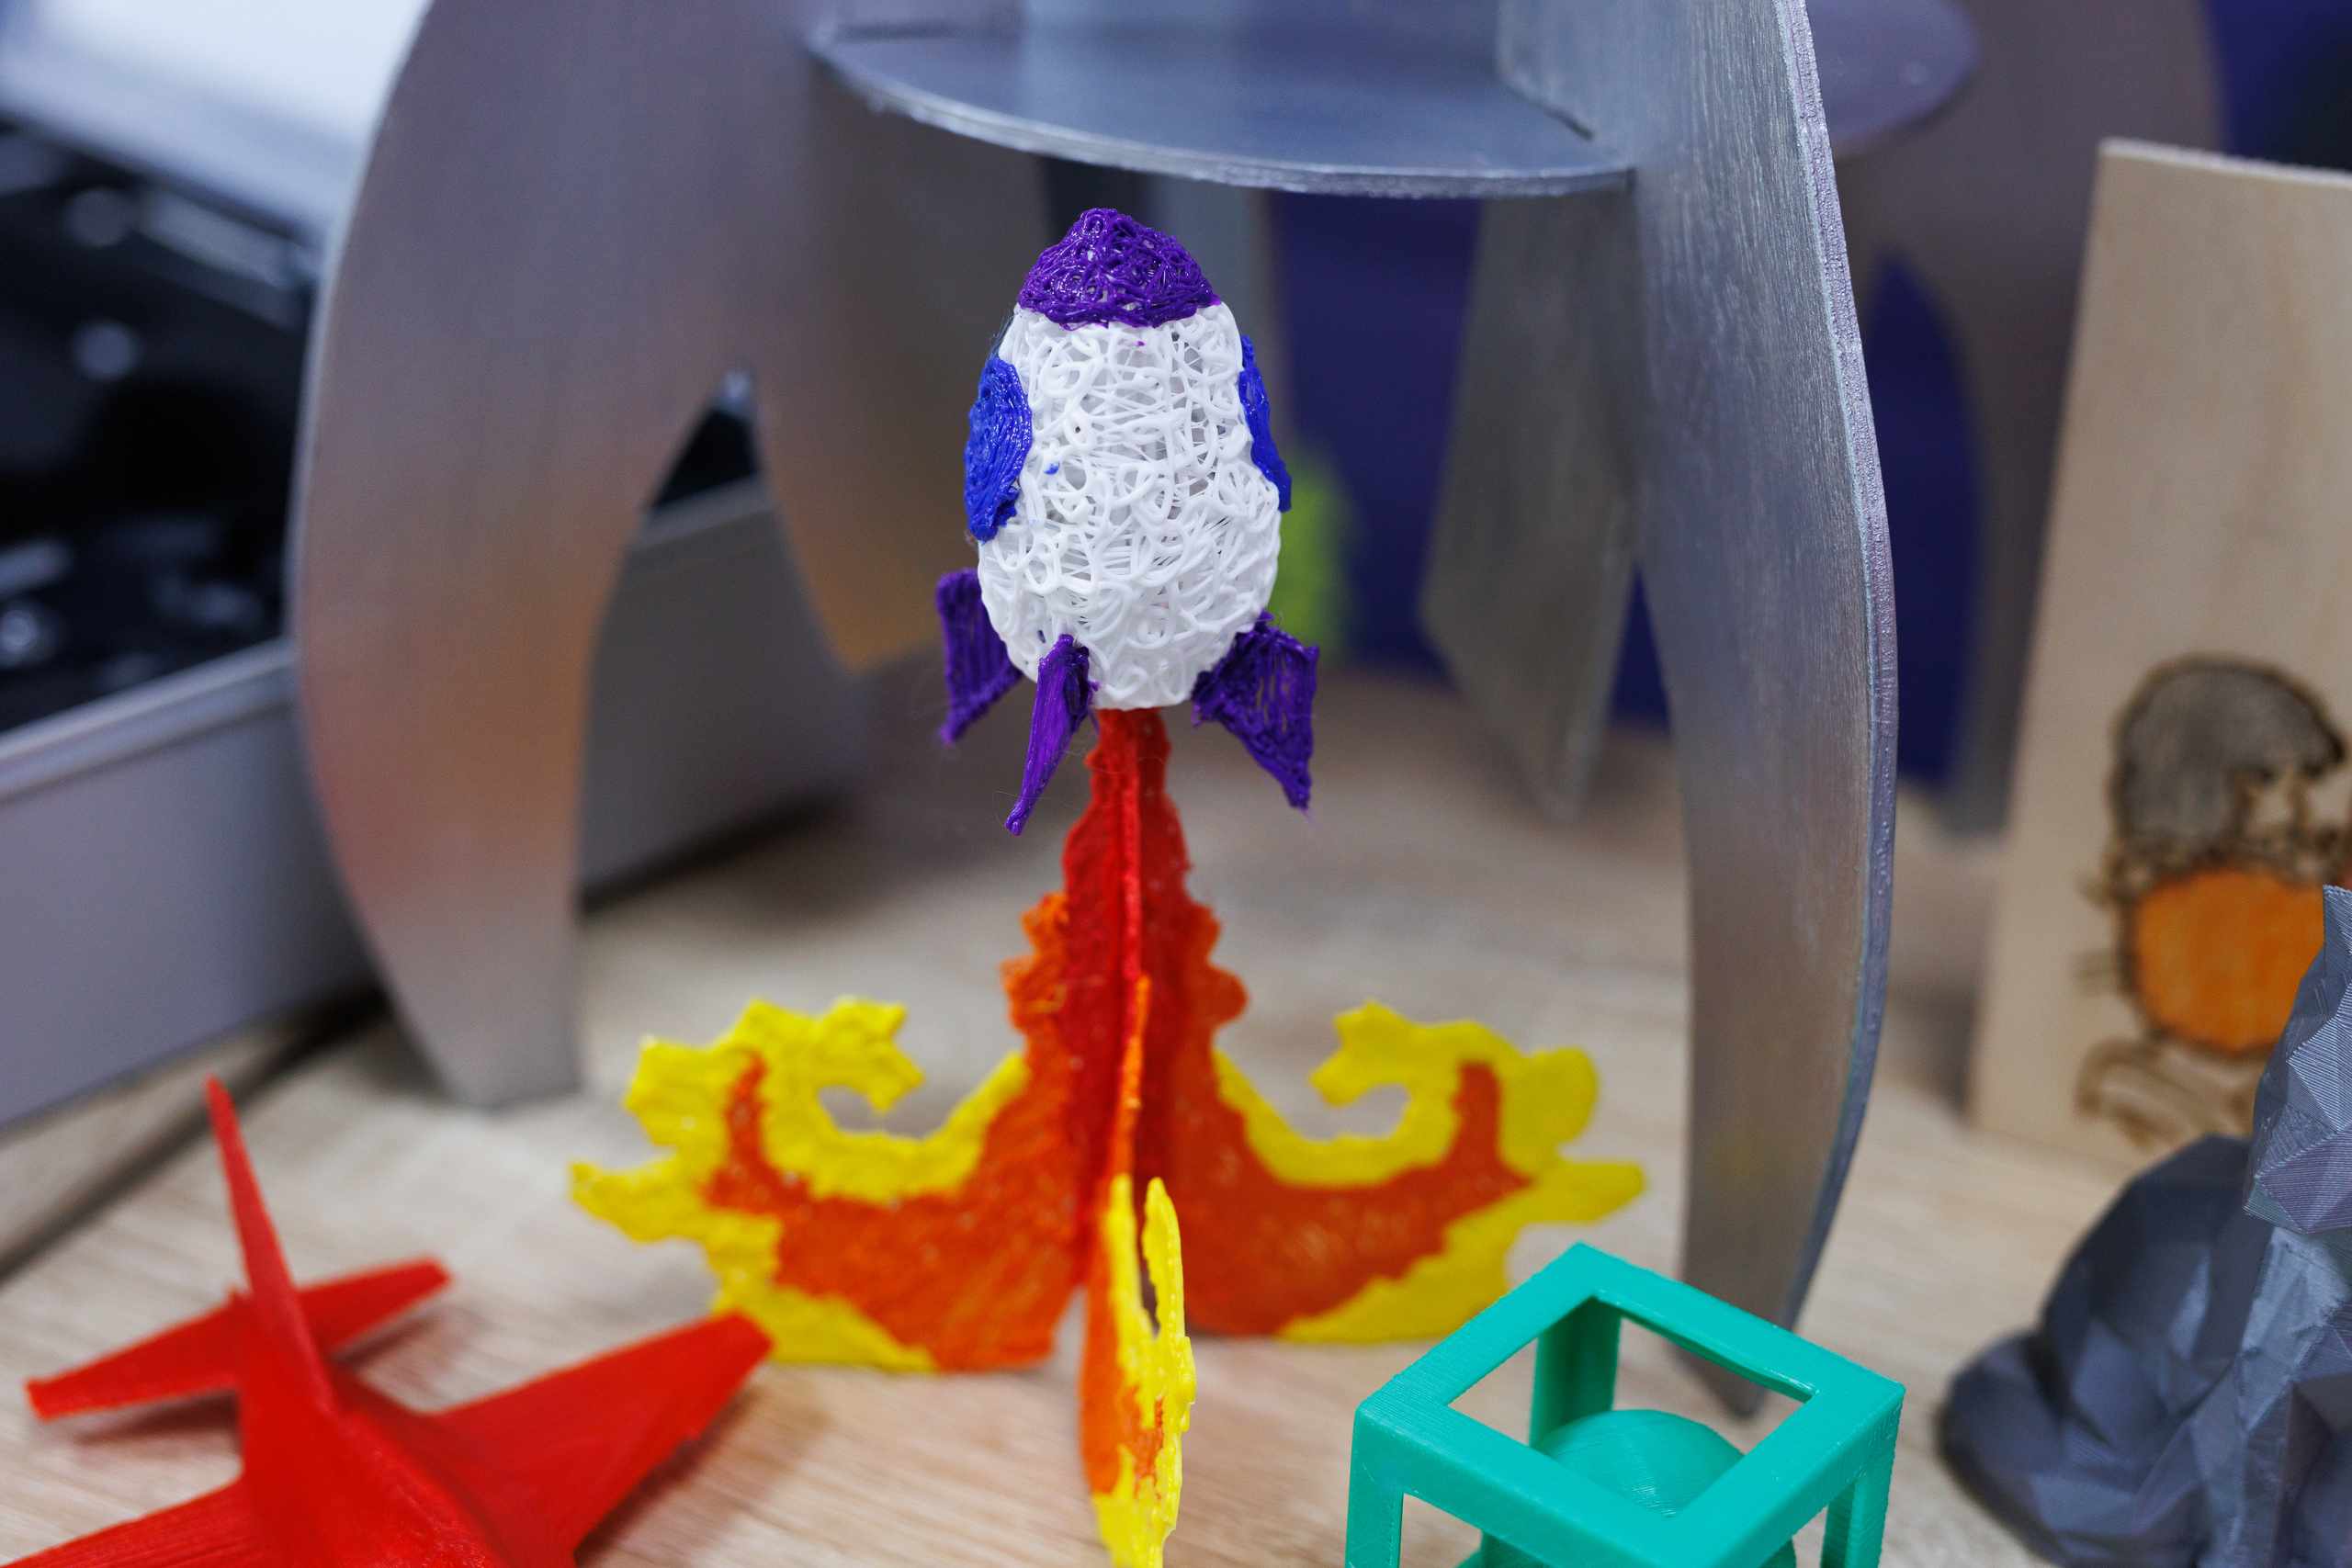
Work from use, not decoration.
A design begins by identifying who uses the object, what action it supports, where it belongs, and which constraints matter. This keeps the concept focused before details, surfaces, or styling are added.
See how sketches become testable forms.
Practical articles explore design briefs, thumbnail variations, scale checks, handles, joints, cardboard mockups, material choices, and other beginner decisions that shape physical objects.
How the learning process works.
Do I need strong drawing skills?
No advanced illustration ability is assumed. Early sketches are used to compare silhouettes, dimensions, openings, and construction ideas rather than to produce polished artwork.
Why make several concept variations?
Changing width, angle, grip, support, or volume reveals different solutions. Comparing alternatives makes it easier to choose a form for clear functional reasons.
Are professional workshop tools required?
Many early checks can be completed with paper, cardboard, foam, tape, simple measuring tools, and household objects used as references for scale.
What does a model actually test?
A quick mockup can expose awkward grip, poor clearance, unstable balance, unsuitable proportions, or confusing features. It guides revision without claiming to validate final manufacturing performance.
Progress appears in clearer design decisions.
The aim is not professional polish after one exercise. Improvement means defining a more focused problem, producing useful alternatives, noticing weaknesses at real scale, and explaining why a revised form works better.